
DIY Fabric flower rosette tutorial. A great stash buster for a shabby chic baby look.
My friends are having babies left and right. While looking for easy handmade baby gift ideas I came across a Sizzix die cut for a baby bib. I have the Sizzix Pro and it will fit the large die. This was the solution to my shower gift dilemma. With this die I could make everyone bibs and any future babies will get bibs too. Win/win. The first baby on my list is a girl and her mom is kind of frilly so I decide to add a flower to her bib. This is one of my go to flowers and it works great with fabric scraps. For a while I put a rosette on everything. Normally I make the flowers and embellish them with gems in the center but since this is for a baby and I thought it would be safer to leave small bits off. Be ready to see several versions of this bib. My creative juices were flowing.
Materials for Fabric Flower Baby Bib:
- Sewing Machine and basic sewing supplies
- Iron and ironing board
- Smooth Fusible Fleece (received as a sample and I LOVE it.)
- 2 fat quarters or fabric scraps to make a patchwork piece 9×12 for each side.
- coordinating thread
- bias tape or twill tape 1.25 yard
- Dritz Babyville plastic snaps and snap setting tool
Instructions for baby bib:

- Cut fabric to fit the size of the die cut approximately 9×12. Fabric face up, iron the fabric to the textured side of the fusible fleece following manufactures directions.

- Run the fused piece through the die cut machine following manufacturers directions.
 Die cut the back side of the bib. Make sure you place the fabric the correct side up to match with your front. I cut one backwards.
- Pin the pieces together. Use as many pins as you need to keep the pieces aligned.

- I sewed the pieces together before I added my binding so that it would not slip or shift as I went along. I did not do this on the next bib and my results were not as nice.

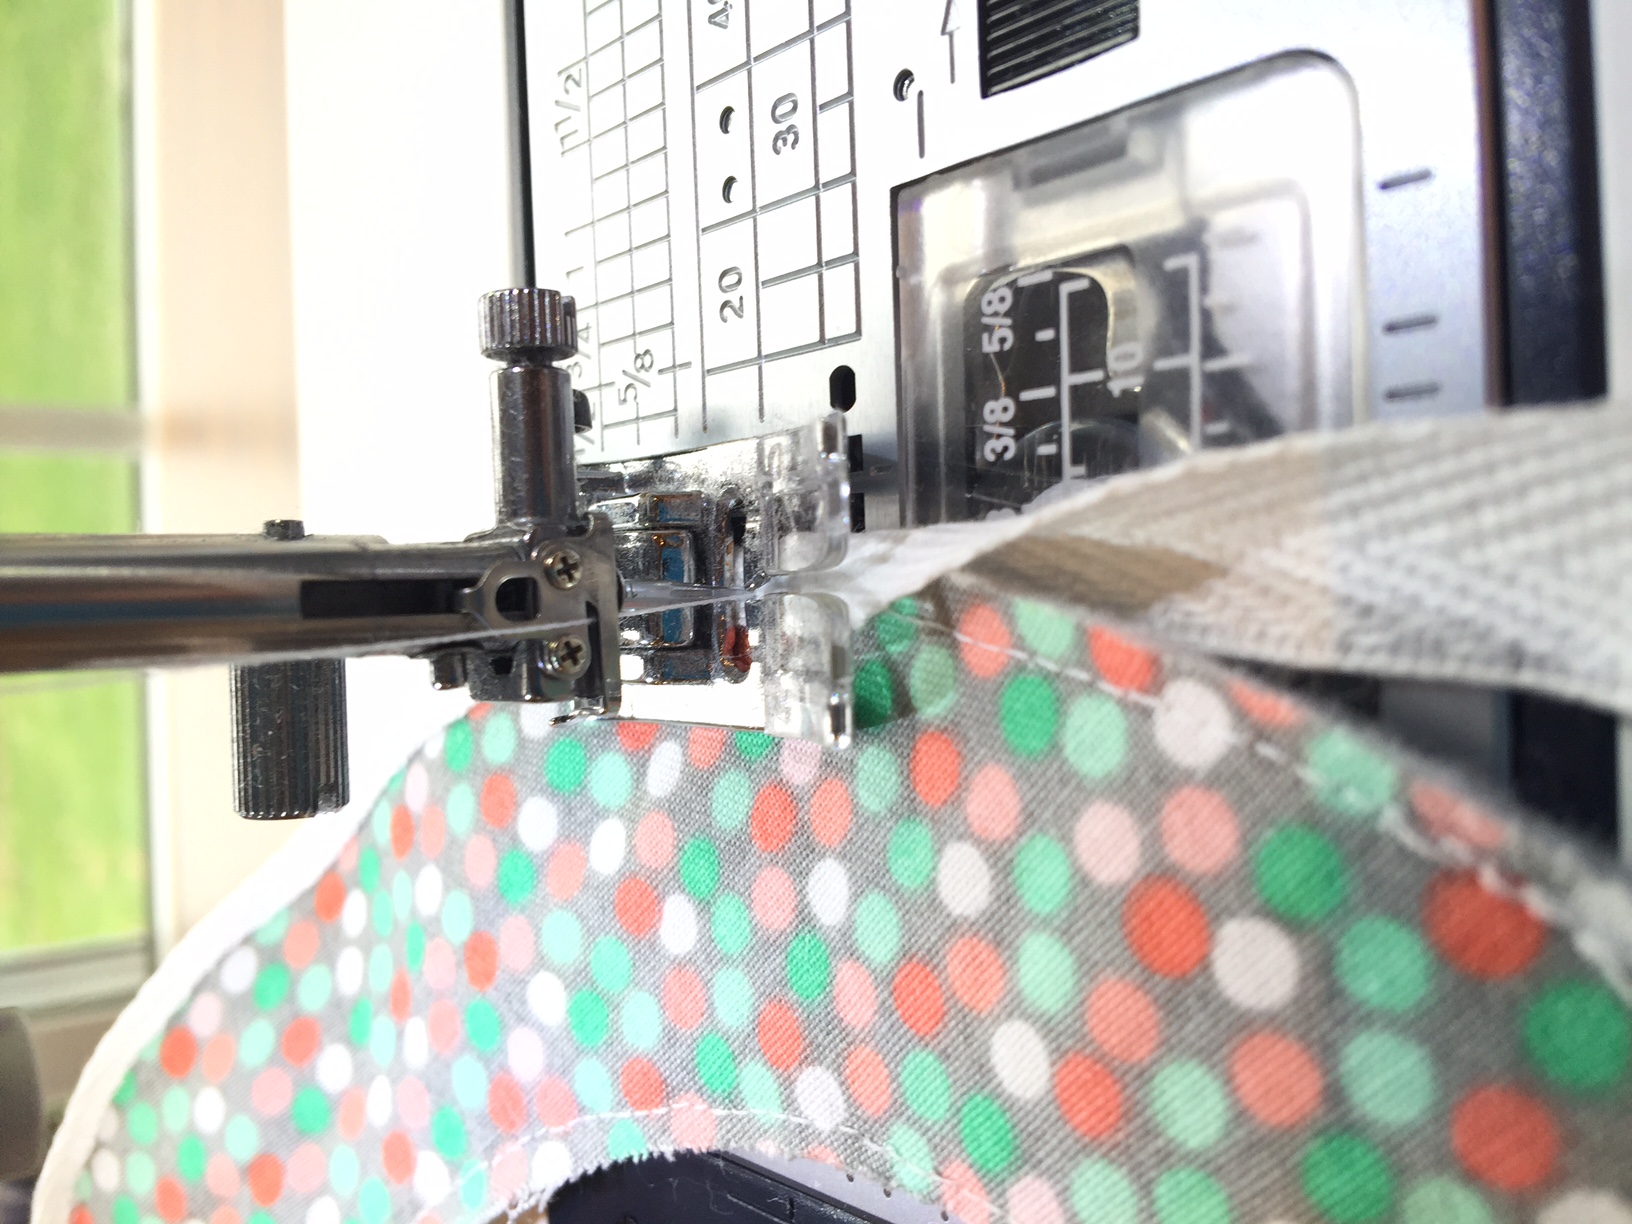
- Add the binding or twill tape to the edge of the bib and sew on. In the future I will use larger tape. This was too small and took forever to go around because I went so slow to avoid it shifting.

- Add a plastic snap. The tool makes the job so easy. Use the awl that comes with the tool to poke a hole for the pieces. Place the pieces though the hole and squeeze. It really was that simple.


To make the fabric flower:
- Cut or tear one inch strips of fabric. If you are using scraps like I was you will need several strips as long as possible. You are aiming for 24 inches of fabric.

- Starting at one end of strip make a knot, twist tightly and begin to roll into spiral shape.
- Use thread to secure edges every 2”-3”. I used a contrasting thread so you could see it. Try to use a coordinating color.

- If you are using scraps, adhere one end of the fabric to other end to make larger fabric flower. Adding stitches as you go along.

- Adhere the fabric flower to bib with several stitches. Use coordinating thread and try not to go through both layers.


Other posts with fabric flowers-


This is very cute!
How cute is this?! Love the patterns and colors you chose, too!
Thanks! Wait until you see the flamingo bibs.